“Log” Homes


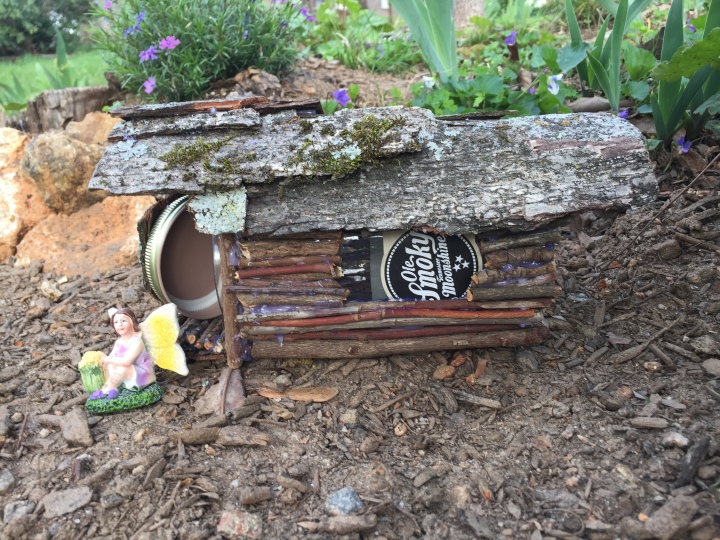
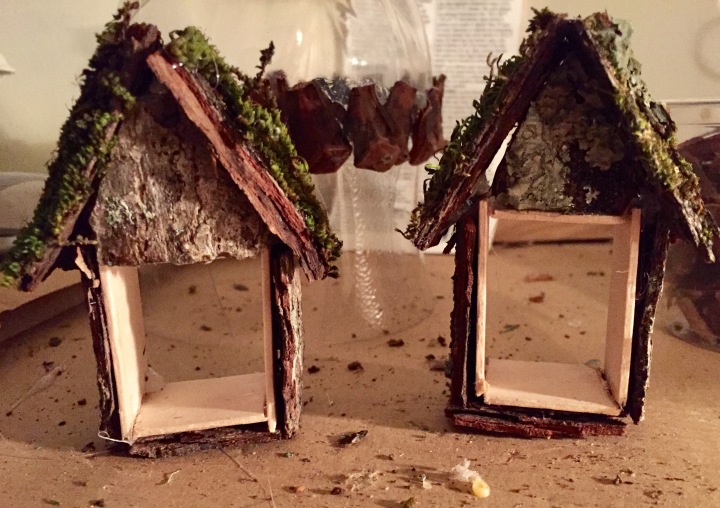
My two newest additions could be both be dubbed “log homes,” but they are very different from each other. The first one, I built to look like a log home out of some popsicle sticks designed for interlocking that I found in my stash of craft supplies. I painted it with brown acrylic and drew in black lines to make it look like log. Some wood glue at key interlocking points made it sturdy, and I cut out a door and some windows.

I glued together the pieces for the roof transoms, then used my larger popsicle sticks to create the roof base. After a recent rainstorm, I found lots of pieces of mossy bark in our yard, so I stapled those to the roof base to create a mossy roof. I didn’t trust glue to fully hold the roof pieces on, so I found some floral wire and used it  to secure the roof pieces to the frame. Below is the inside view and outside view of the first roof piece.

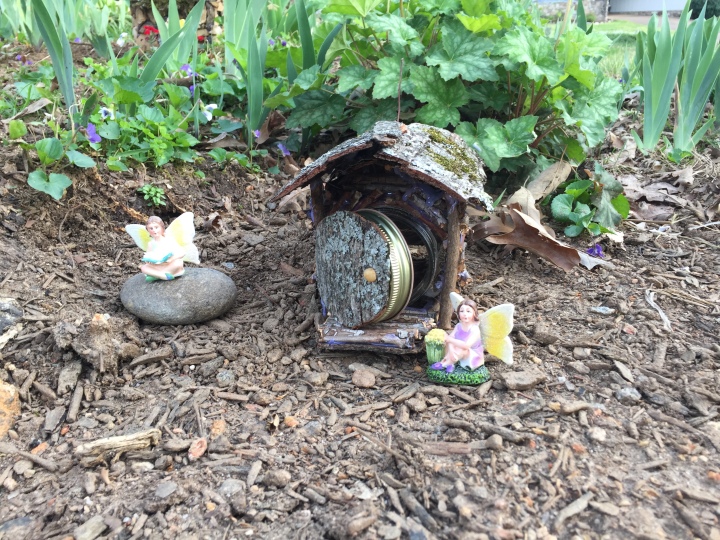
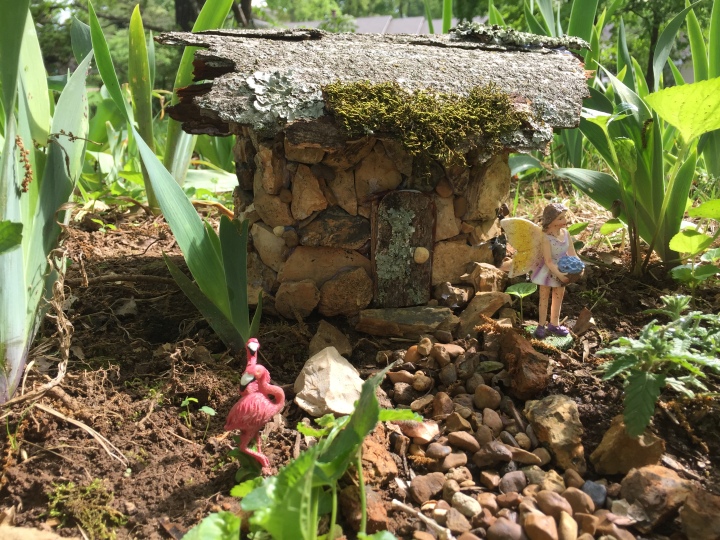
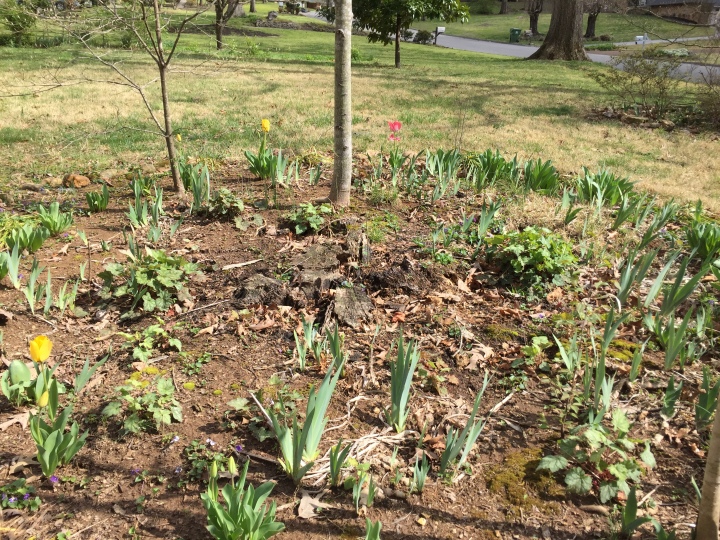
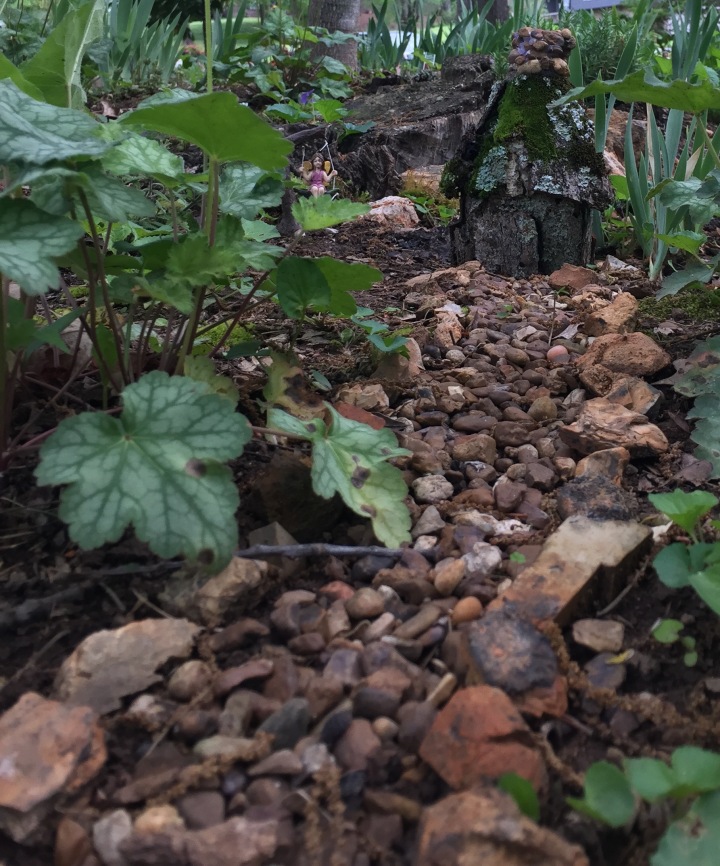
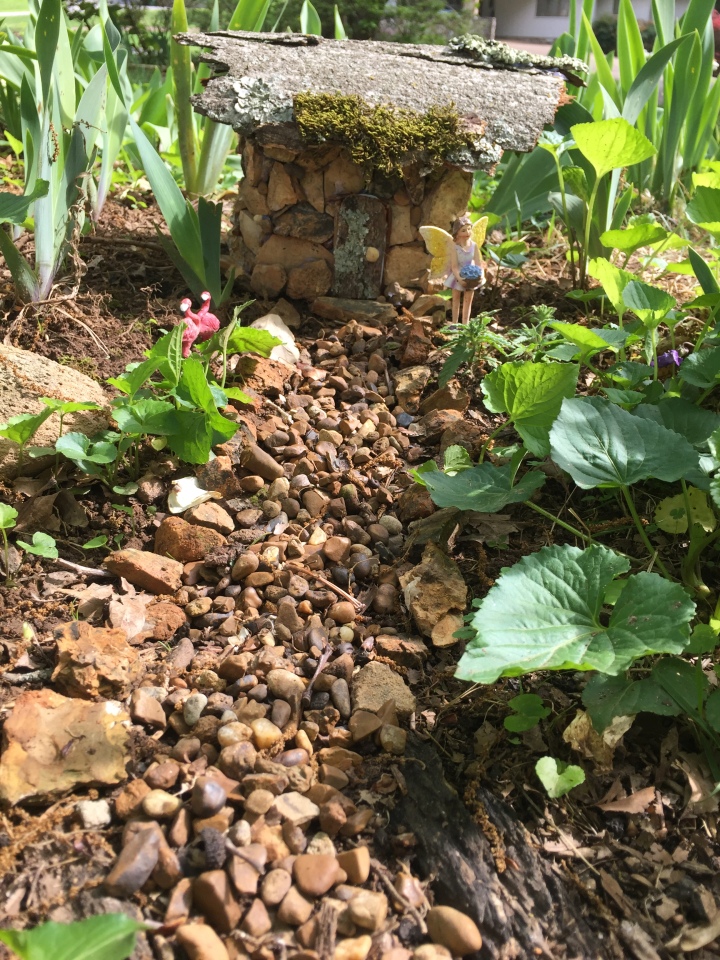
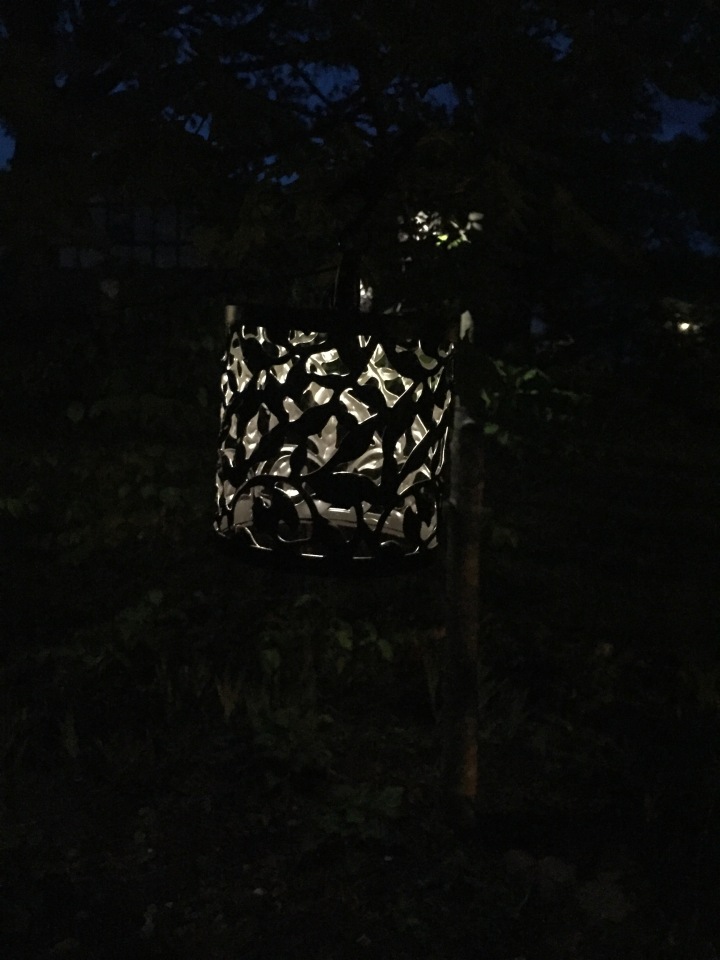
Here is the log home placed in the garden.

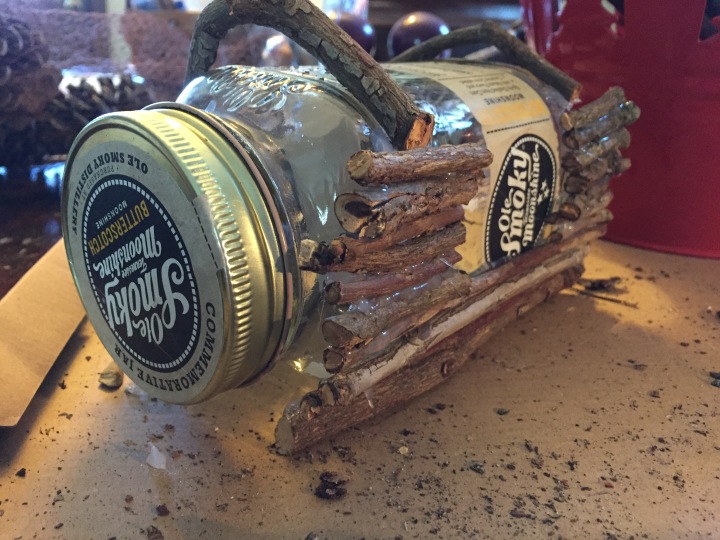
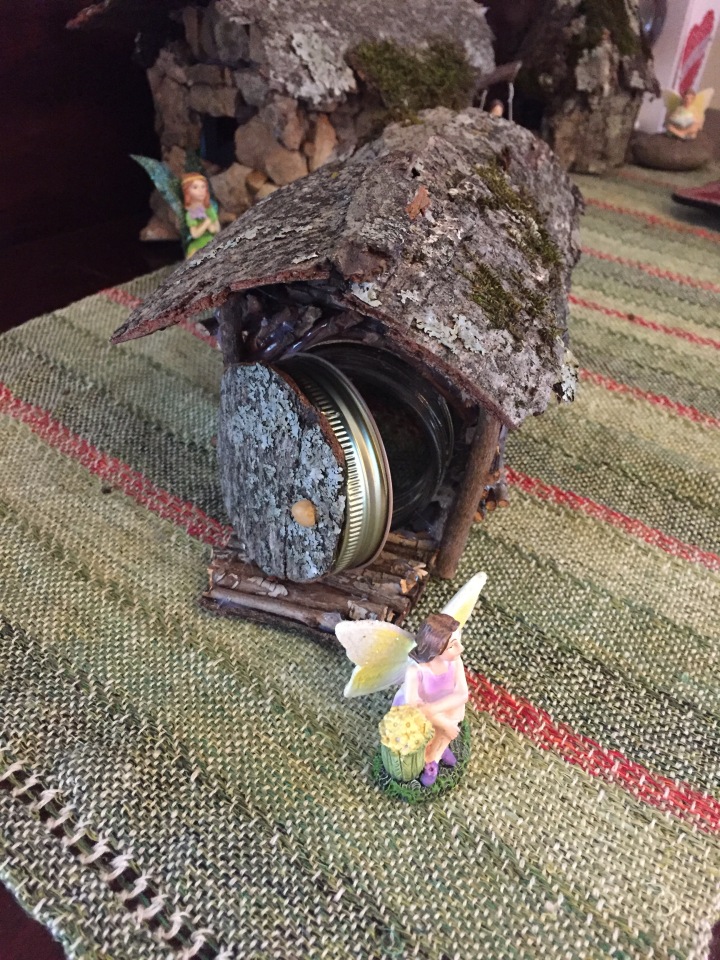
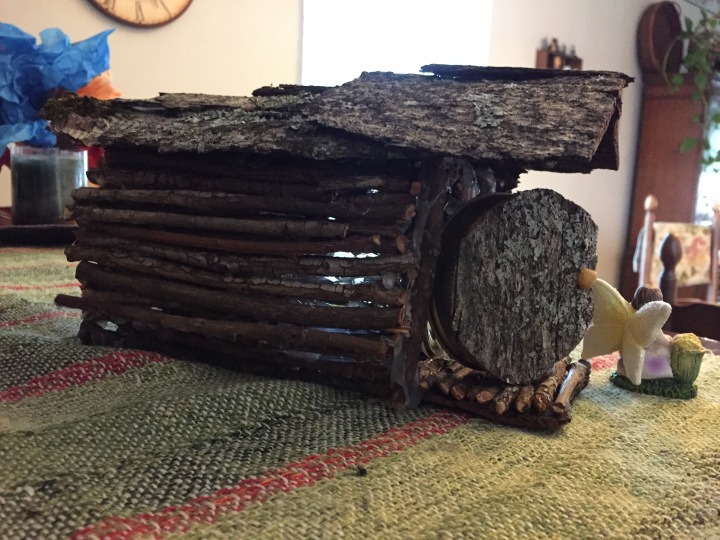
My next log home is actually made from a log I found in my neighbor’s pile of brush. It is hollow, with a perfect fairy door opening. I began by gluing a little roof over the door and adding a staircase made of bark pieces leading to the door.IMG_3900

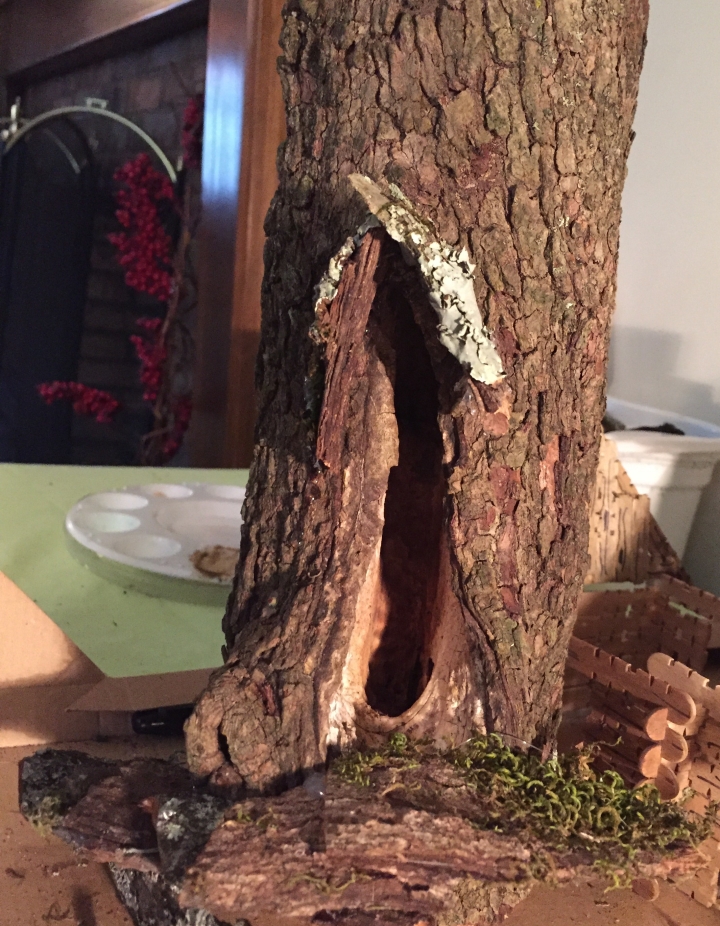
Next came a banister made of grapevine, and a tiny chair for the front porch, made of pine cone pieces and sticks. With more pine cone pieces and some beads I had, I created a front porch “light”

After making the tiny chair, I was inspired to make more furniture, but didn’t know where I could put it. I decided to create a tiny garret bedroom on top, with triangular windows to support the roof pieces. The little bed and night table aren’t very visible from the outside, but we know they’re there, and so do the fairies!

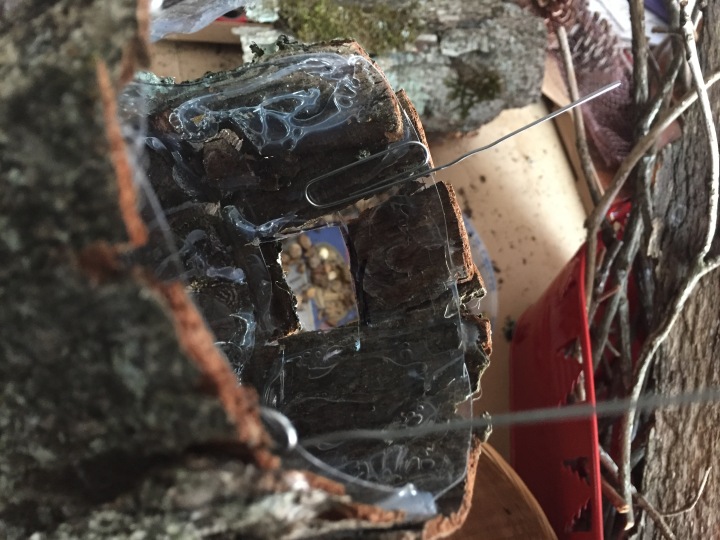
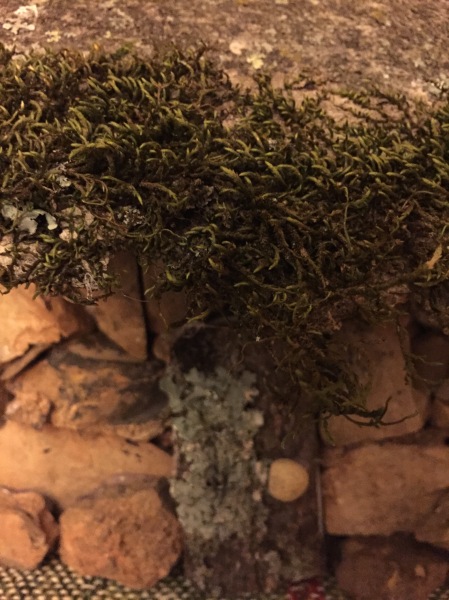
A piece of grapevine curl attached to the roof supports an ornament that used to be an earring of mine. It’s a piece of dried, painted mushroom with a little silver fairy ornament.

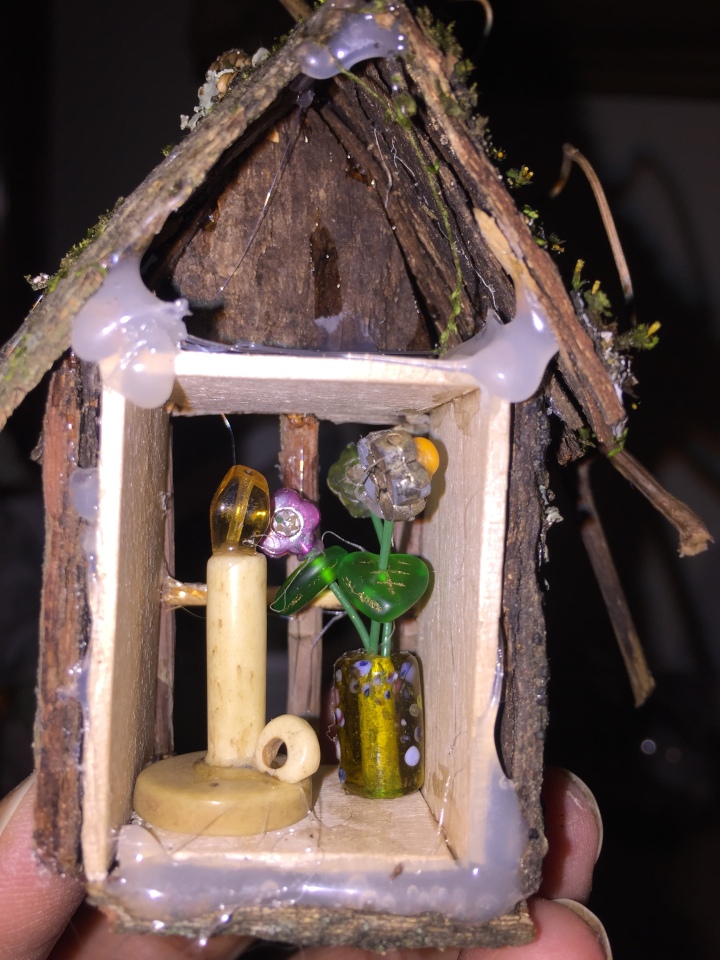
On Pinterest, I had seen some fairy windows that I decided to partially replicate and attach to the sides of the log. To make the house look more lived in, I put some “flowers” and a “candle” made of beads inside the window sills before glueing them on.

IMG_3927IMG_3928IMG_3929

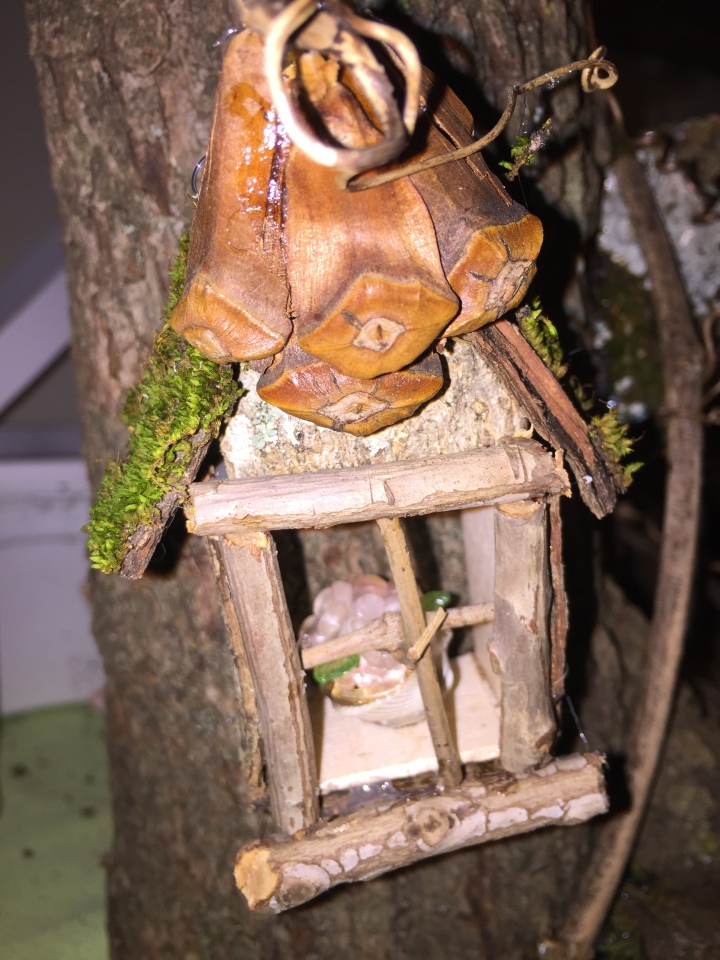
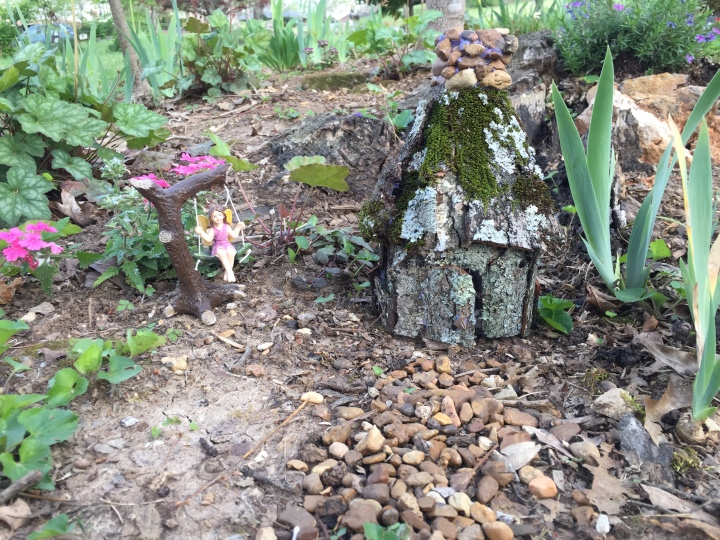
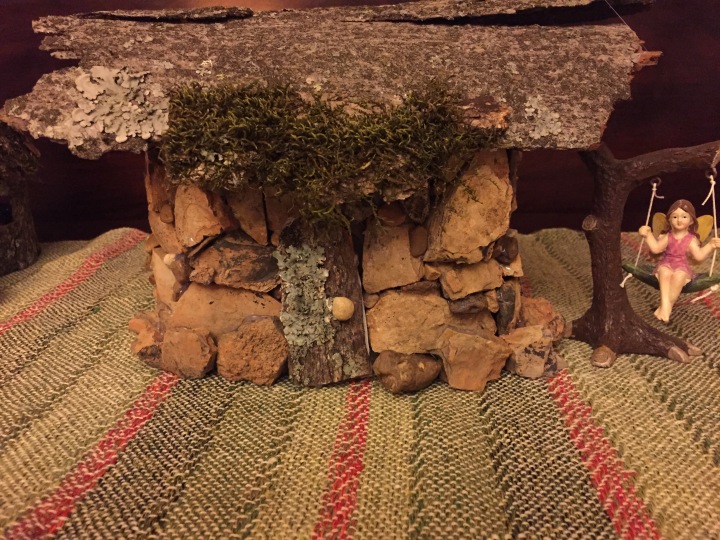
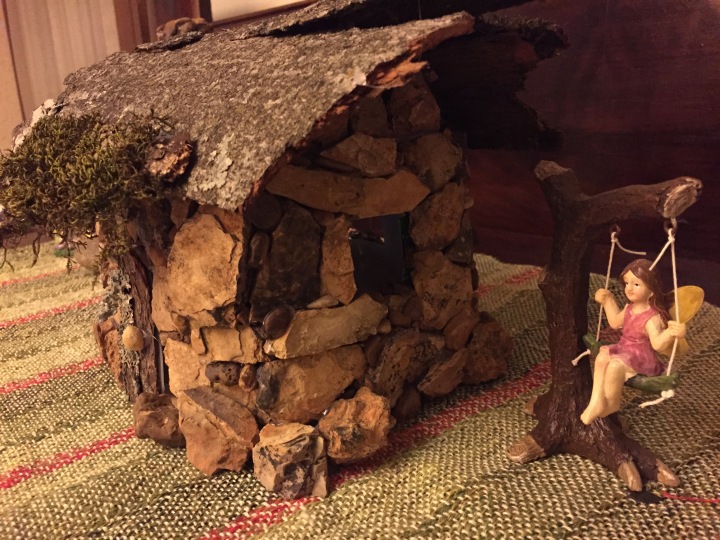
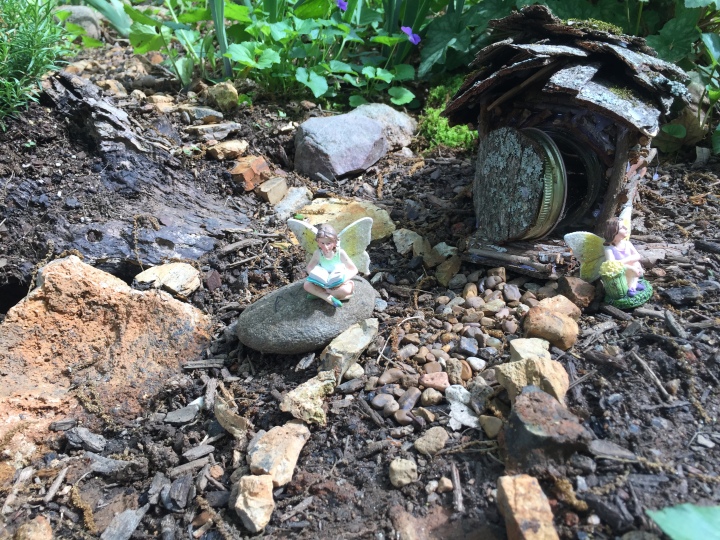
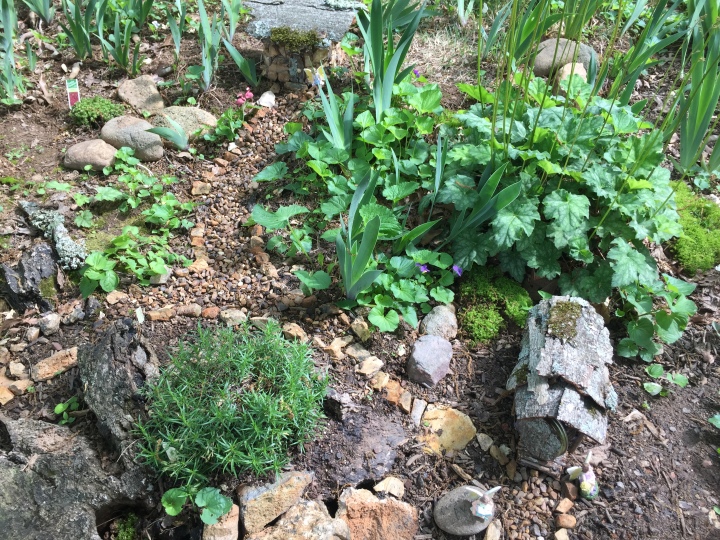
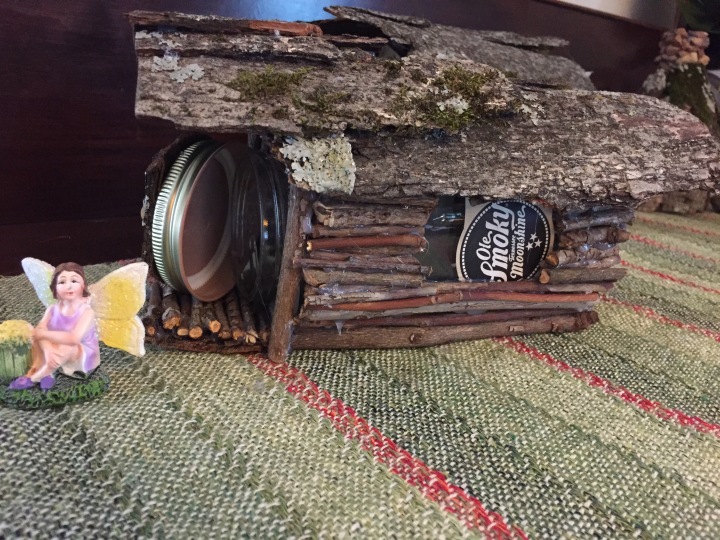
Here is the house completely assembled, then after I placed it in the garden.

Starting to Look Like a Fairy Neighborhood!

With my first three houses in place, I began creating paths through the neighborhood so my tiny residents can go visit each other. I used some small rocks that I dug up from the fill dirt used to fill in our swimming pool to border the paths. Then I stole pea gravel from our front flower bed to gravel the paths. I had fun building a tiny staircase up a hill to connect a couple of houses!

IMG_3820IMG_3810IMG_3817IMG_3821

I got rid of some sprouting trees and weeds that were trying to take over. I picked up some plants (phlox, succulents and flowering plants) and placed them around the garden. I brought in a few rocks for the plants to cascade over. I also found a bed of moss growing elsewhere in the yard, so I dug up some pieces and transplanted them into the fairy garden.

On a visit to the local hobby store, I couldn’t resist a couple of pink flamingo lawn ornaments, some tiny little signs for the entrance, and a toadstool picnic set. A trip to Lowe’s provided some solar-powered lamps that I strung among the four trees in my garde. They give nice, soft nighttime glow to the area. I plan to do more, but I have a real fairy garden, now!IMG_3808IMG_3812IMG_3814IMG_3824

House Number Three


My third fairy house is a true Tennessee fairy house! I decided to use an empty jar of Smokey Mountain Moonshine.  I glued sticks to it, leaving part of the label exposed, just for fun! The roof is made of bark, which I originally attached to a frame of sticks.

IMG_3764IMG_3766IMG_3767IMG_3768After placing my houses in the garden, it rained a few days later. I discovered that hot glue does not endure well in wet weather, especially if there is not much surface covered by the glue. This was the case for the roofs of house number two and house number three. I had to bring them back inside and find a better way to attach the roofs.

I scoured the local Hobby Lobby and came up with some large popsicle sticks for a roof base, and decided to try a more durable glue made for model airplanes. Here are photos of my repair work.

House number one was having trouble standing upright, either due to cats walking by, or the wind. So I devised a way to add picks to insert in the ground. I partially opened large paper clips and attached them to the plastic foundation. Here is a photo of the inside of the house, showing the paper clips.

IMG_3805

So after some repair work, my first three houses are in the fairy garden. The neighborhood is developing!

IMG_3771IMG_3773IMG_3774IMG_3818

Building houses

I scoured my yard for rocks, bark, pine cones and twigs. I scoured my recycling bin for plastic containers that could be made into houses. On the advice of a Pinterest user, I stocked up on hot glue sticks.

I decided to make my first house out of bark, glued to the top half of a two-liter soda bottle. The neck of the bottle would be made into a rock chimney.  Construction and final pictures are below.

My second house was to be made of rocks, so I choose a sturdy dishwasher soap package for the base. Gluing the rocks on was like working a jigsaw puzzle, trying to make them all fit together! I filled in gaps with assorted tiny pebbles. I created a rough roof frame with rocks and sticks, then glued on bark pieces for the roof. An extra mossy piece of bark made a shelter over the door, which was more bark glued to a door cut out of the plastic tub. A tiny pebble made a good doorknob! Construction and final pictures are below.

IMG_3755IMG_3759IMG_3760

So that’s where I am right now! I’m working on getting the flower bed ready, so houses can move in. And I do plan to make more houses!

Reliving Childhood

As a child, I remember living in a big house with a wraparound porch lined with brick planters. The planters were filled with large-leafed shade plants creating moss covered alcoves that looked cool and inviting. I used to imagine being small enough to sit under those leaves with my fairy friends. Since then, I have always loved fairies–collecting them, painting them and making them out of clay.

Lately, there has been a trend in building fairy gardens, with ready made little cottages and decor available in a wide range of prices. After considering making one of my own for the last year, I decided it would be more fun and most practical to build my own little houses. I went to Pinterest and found tons of inspiration, of course! So this blog is about my little project, with details on how I’ve done it so that I can pass along the fun.

Here is a picture of the little plot I want to turn into a fairy garden.

IMG_3756